Hola! Bellas, So today is an artwork post and in this post is where I show you guys how I draw a wavy voluminous hair, section by section. Because during a bad hair day, at least the hair of the girl you’re drawing has to be perfect right?
You know the saying “A GREAT HAIRSTYLE IS THE BEST ACCESSORY” ? I am going to try to illustrate the saying the best way I can today. 🙂
Let’s start:
Materials I use:
- Bic HB 0.5 mechanical pencil
- Sketchbook
- Kneading eraser
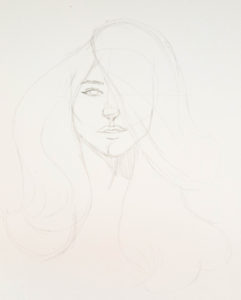
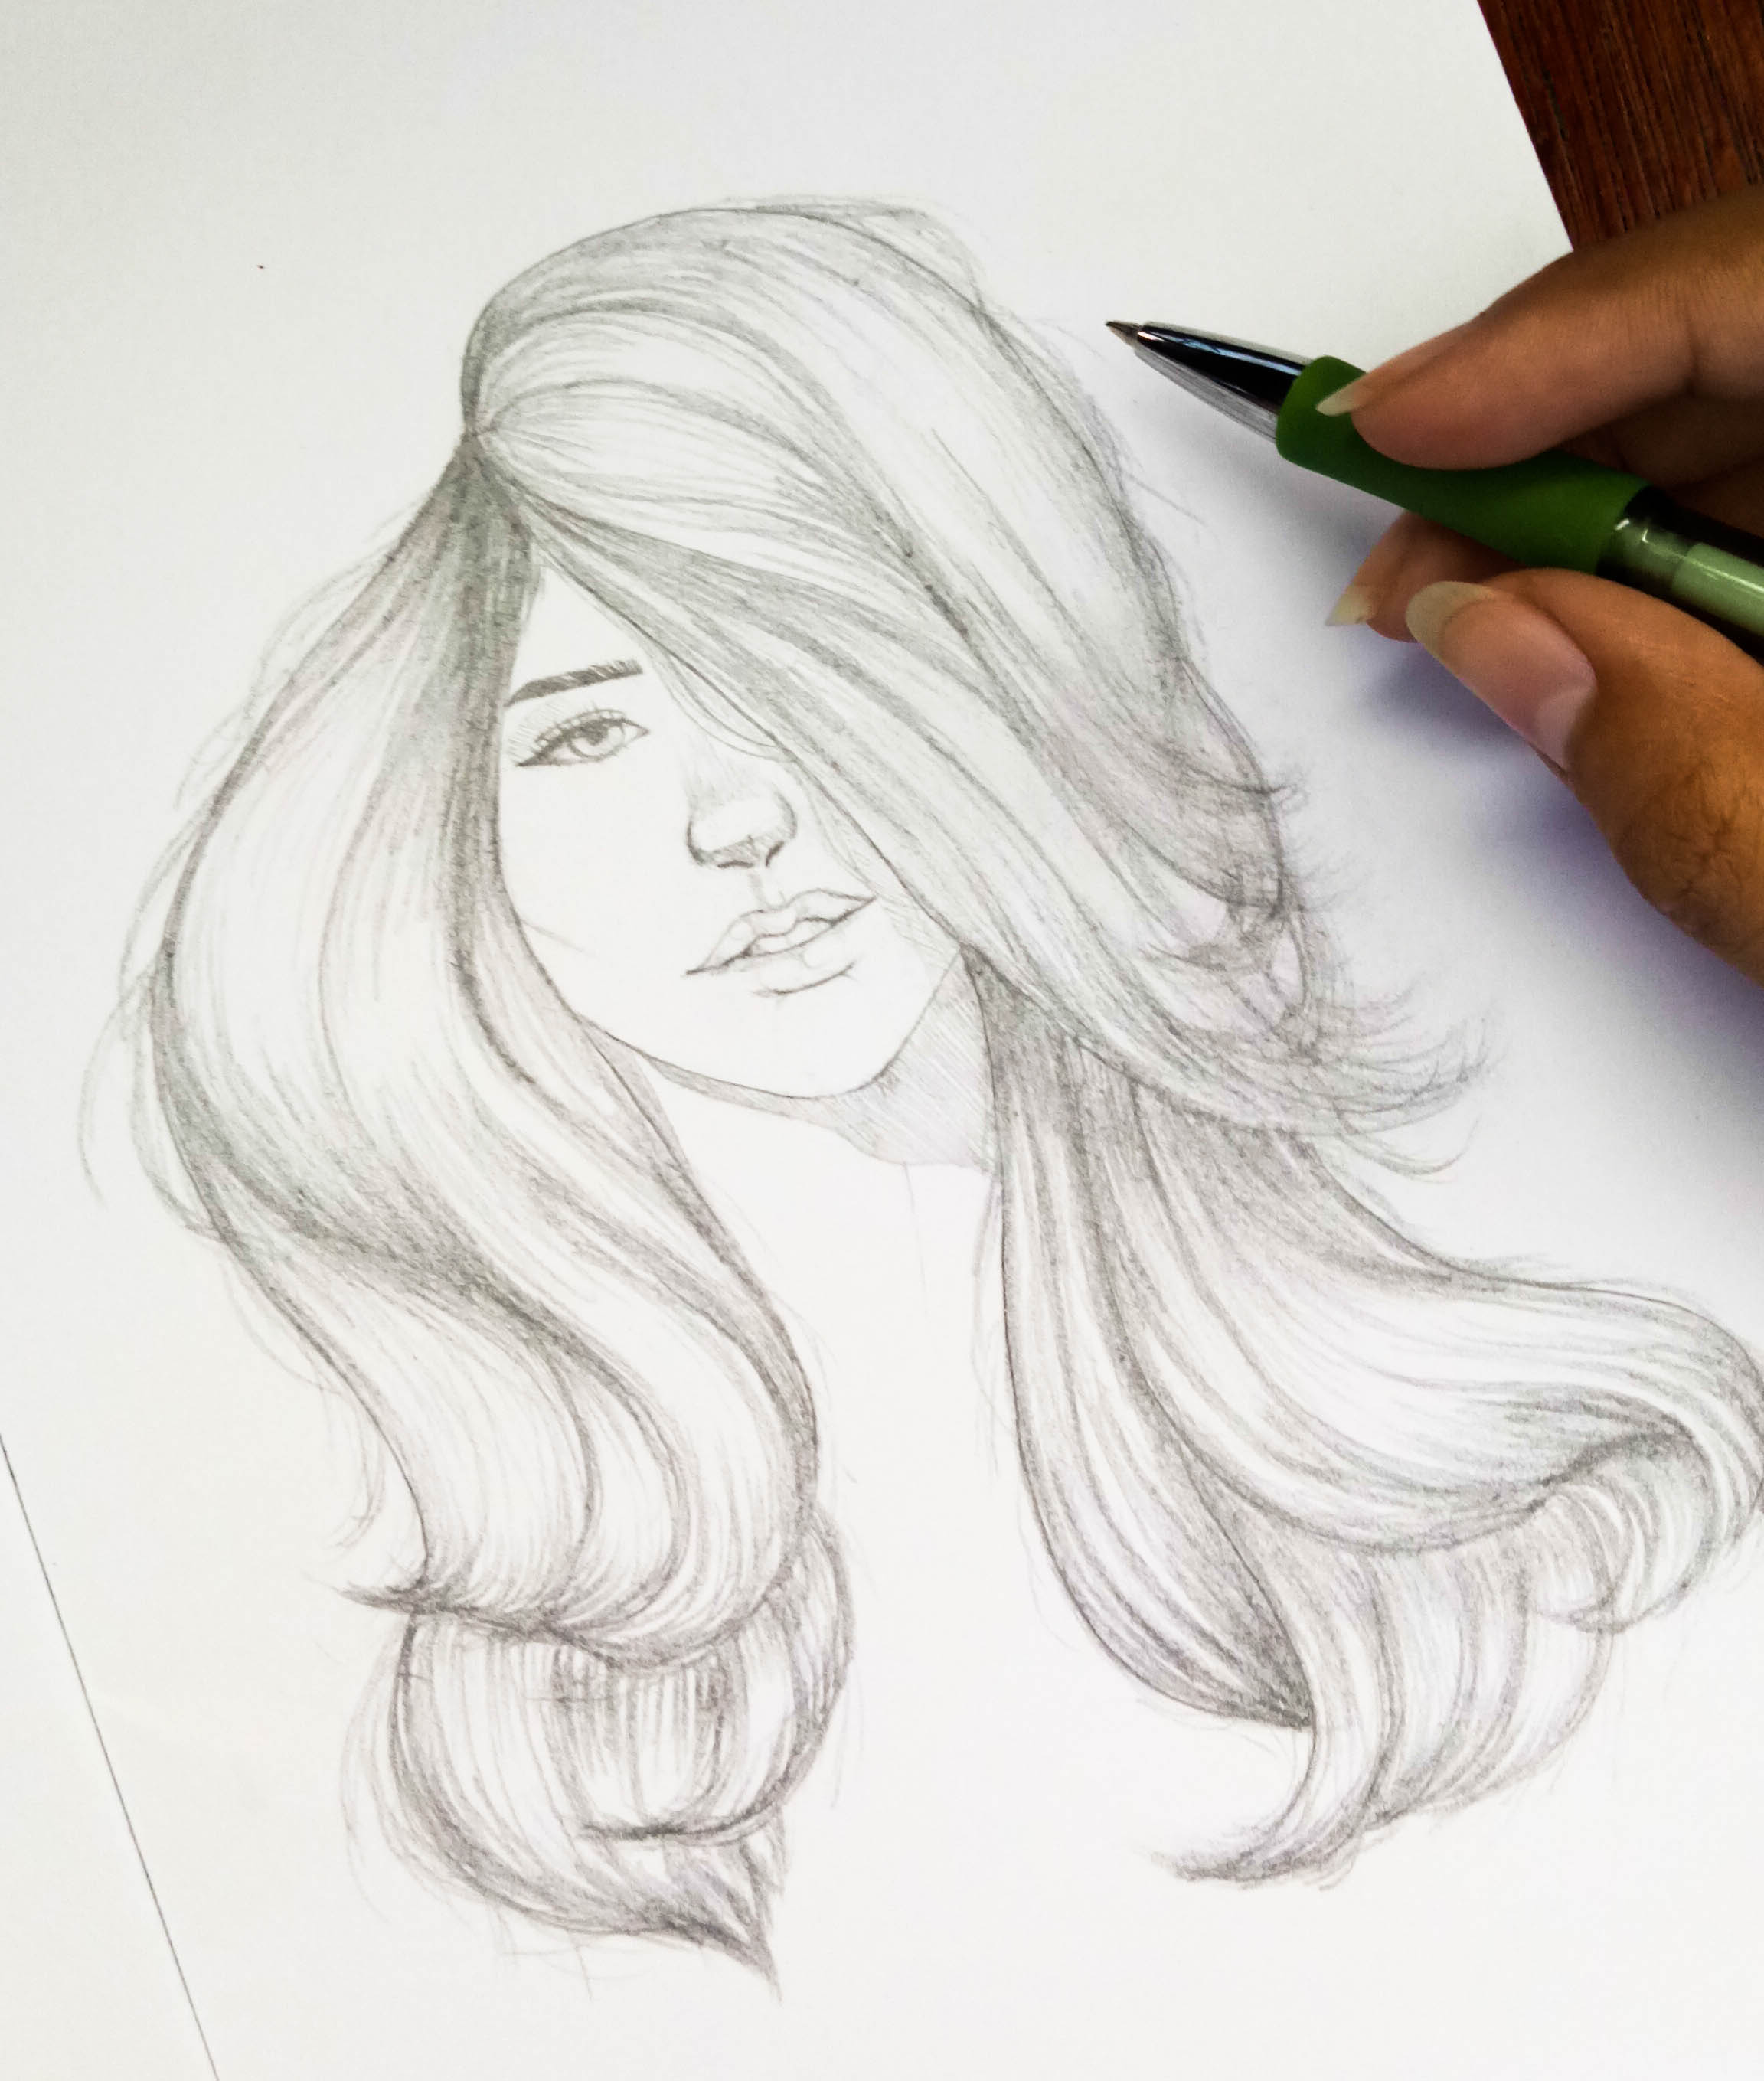
I started off by drawing the profile and the face of the pretty little lady and then I directly followed it by drawing the outlines of her hair. At the same time arranging it where I want them locks to be placed.
Drawing of the hair strands:
Starting from the right side part.


Now on to the other side.


In drawing hairs, I make sure that the direction of my strokes are parallel or is of the same direction as to the flow of the hair. And darker shadings are mostly at the start of the stroke of the hair strands and light shadings in the middle part of every section to represent the portions of the hair that is hit by a light source. Thus recreating the shiny look of the hair. I also try to make them with more depths to have that 3D effect and not just look flat.
This can be achieved by patiently putting effort in to the shadows and highlights of the drawing.
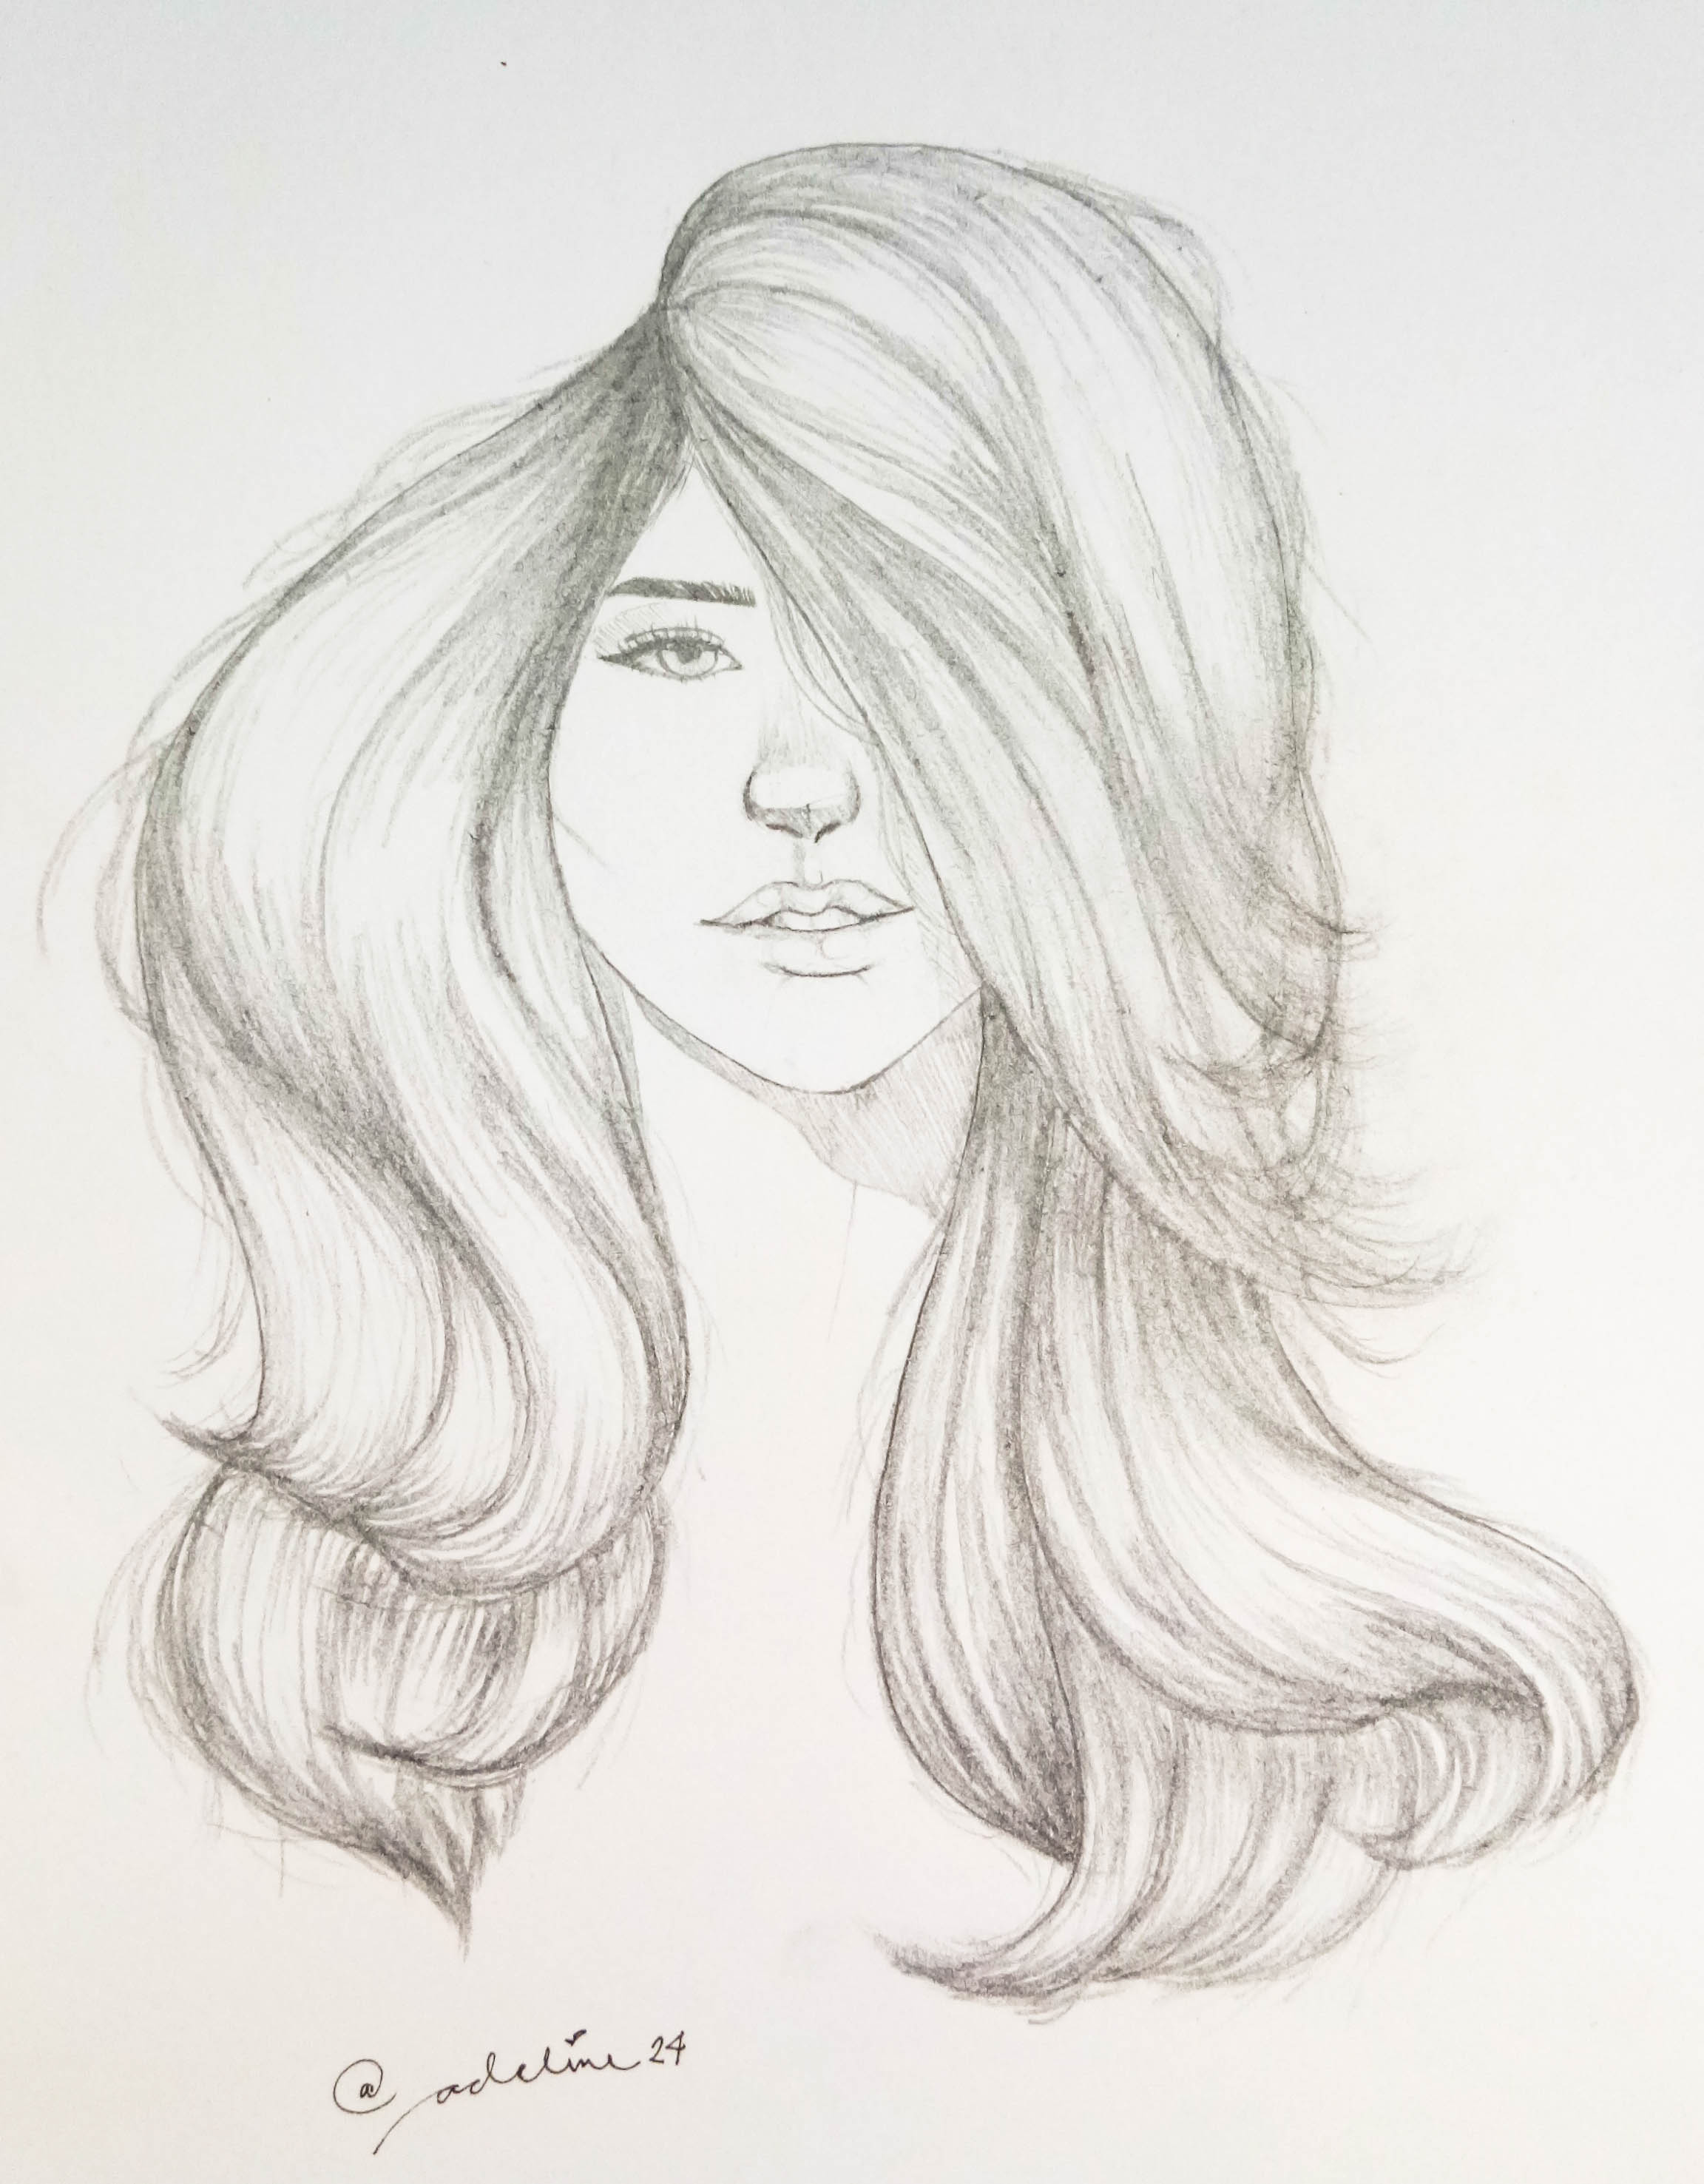
And we’re done.
I just added my signature and violaaa!
I hope you guys enjoyed the artwork as much as I enjoyed making them. Stay tuned for more. This is just the beginning, subscribe to my newsletter to be the first to know when I post a new blog. Until next time, keep on dropping by!
XOXO,